1、谷歌浏览器安装油猴子插件,如无法访问谷歌 .或者火狐浏览器都可以。
2、油猴子插件中添加破解光猫需要的脚本。
// ==UserScript==
// @name         联通光猫超管登陆
// @namespace    https://github.com/luomoxu/UserScript
// @version      0.1
// @description  目前测试支持光猫 KD-YUN-811E(北京联通)
// @author       You
// @match        http://192.168.1.1/*
// @match        http://192.168.101.1/*
// @require      https://cdn.bootcss.com/jquery/1.12.4/jquery.min.js
// @grant        unsafeWindow
// ==/UserScript==

(function () {
	'use strict';
	if ($('title').text() == '中国联通家庭网关') {
		$(".wrapper_administrtor_passwordbox").after('<div class="wrapper_administrtor_passwordbox"><input style="width: 323px;" type="button" id="admin_login" value="管理员登陆" class="wrapper_administrtor_but" ></div>')
		$("#admin_login").on("click", function () {
			$("#user_name").val('CUAdmin');
			$("#loginfrm").submit();
		});
		console.log(unsafeWindow.authLevel)
		if (typeof unsafeWindow.authLevel != "undefined") {
			unsafeWindow.authLevel = 10;
		}
	}
})();
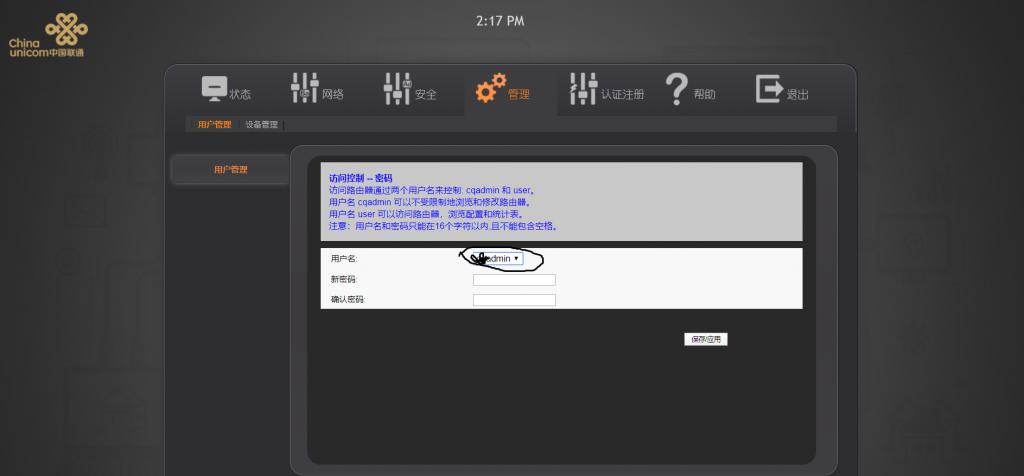
3、浏览器打开光猫界面:http://192.168.1.1/,选择其他账户登录,密码在你的光猫背后
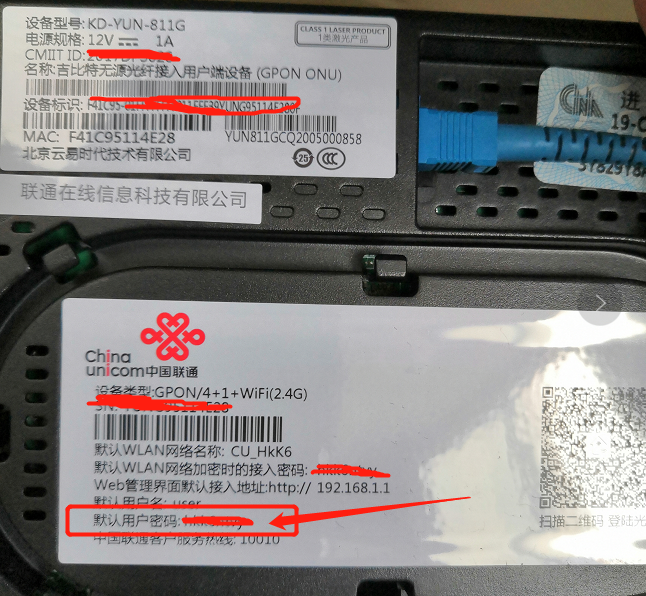
输入管理地址192.168.1.1登录后选择普通用户登录。修改密码处选则一下。会出现admin用户名直接更改密码即可。如果无法选则就是油猴子插件未能生效。

4、设置新的光猫管理员密码。